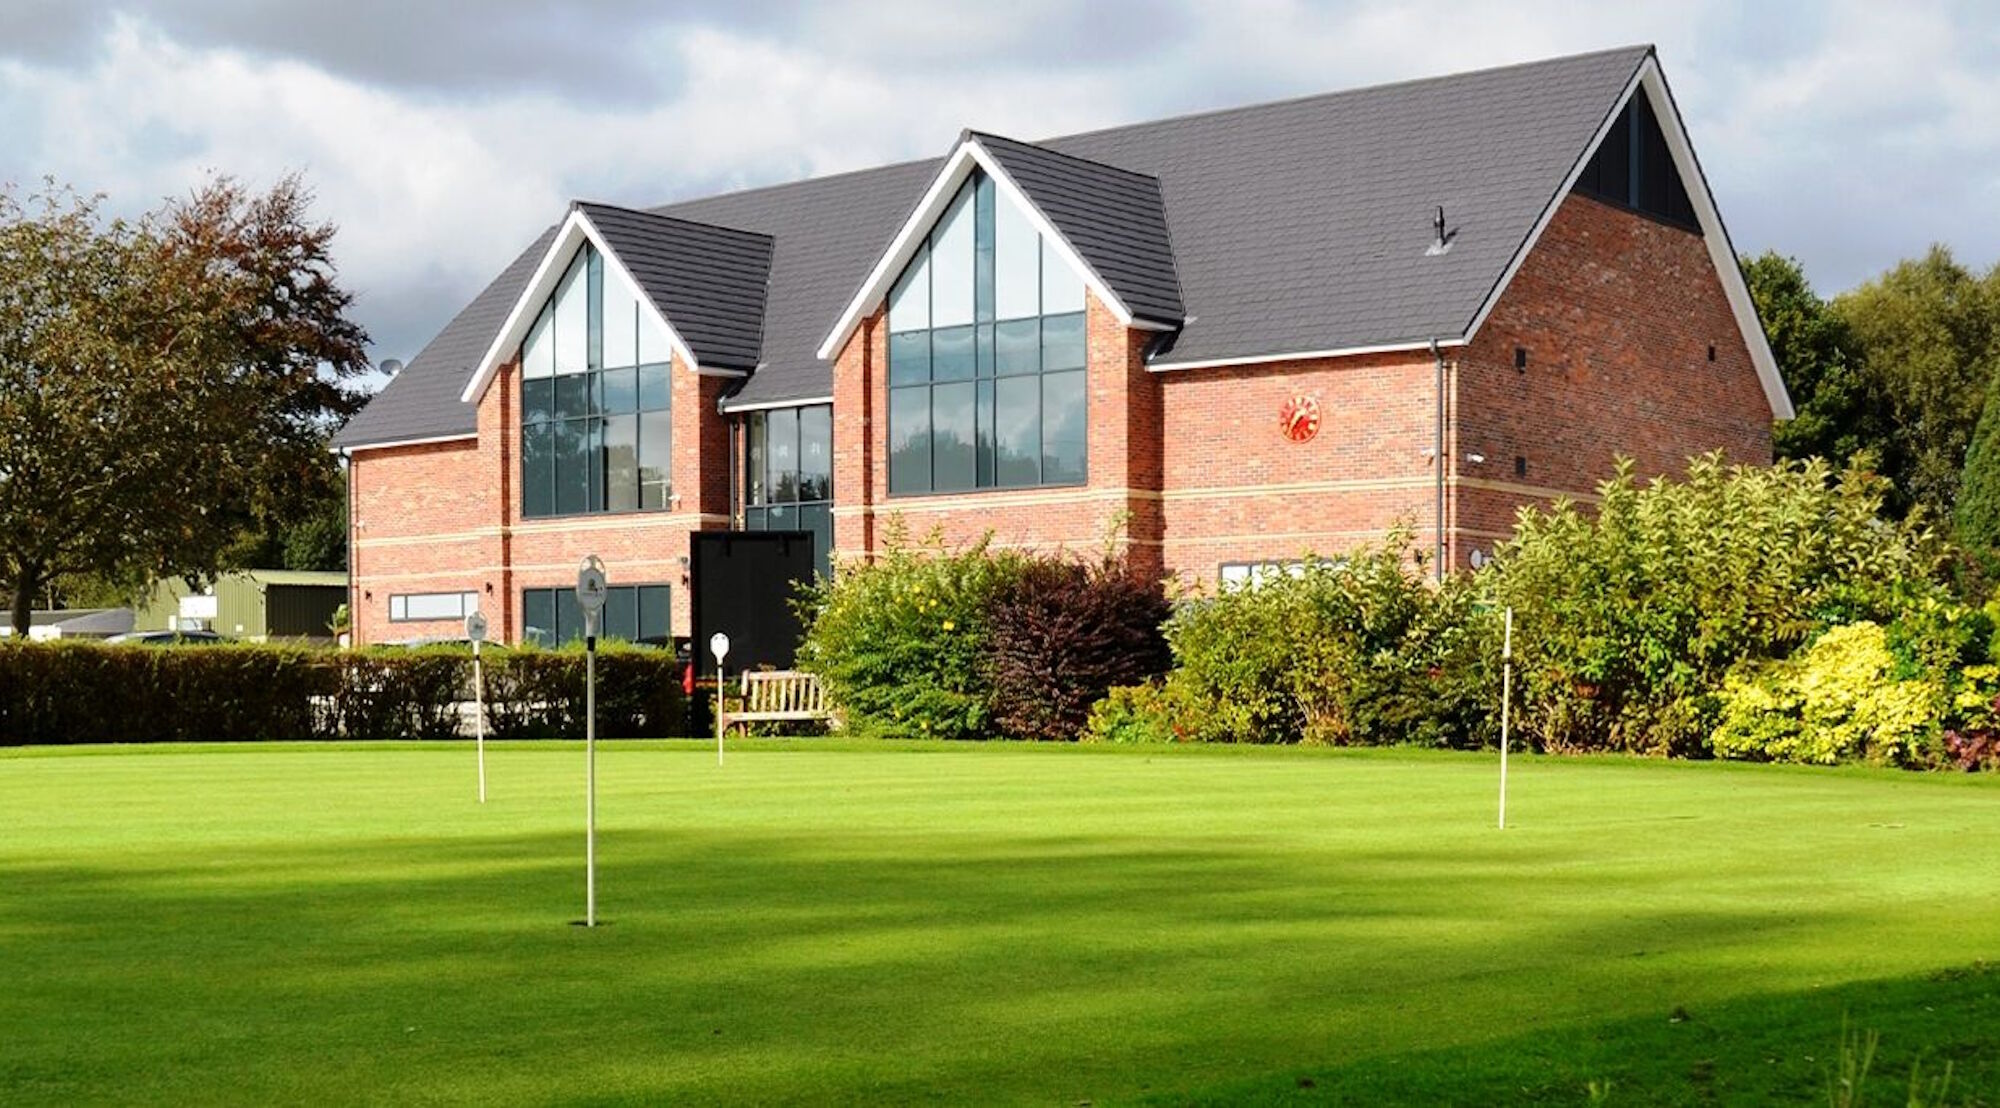
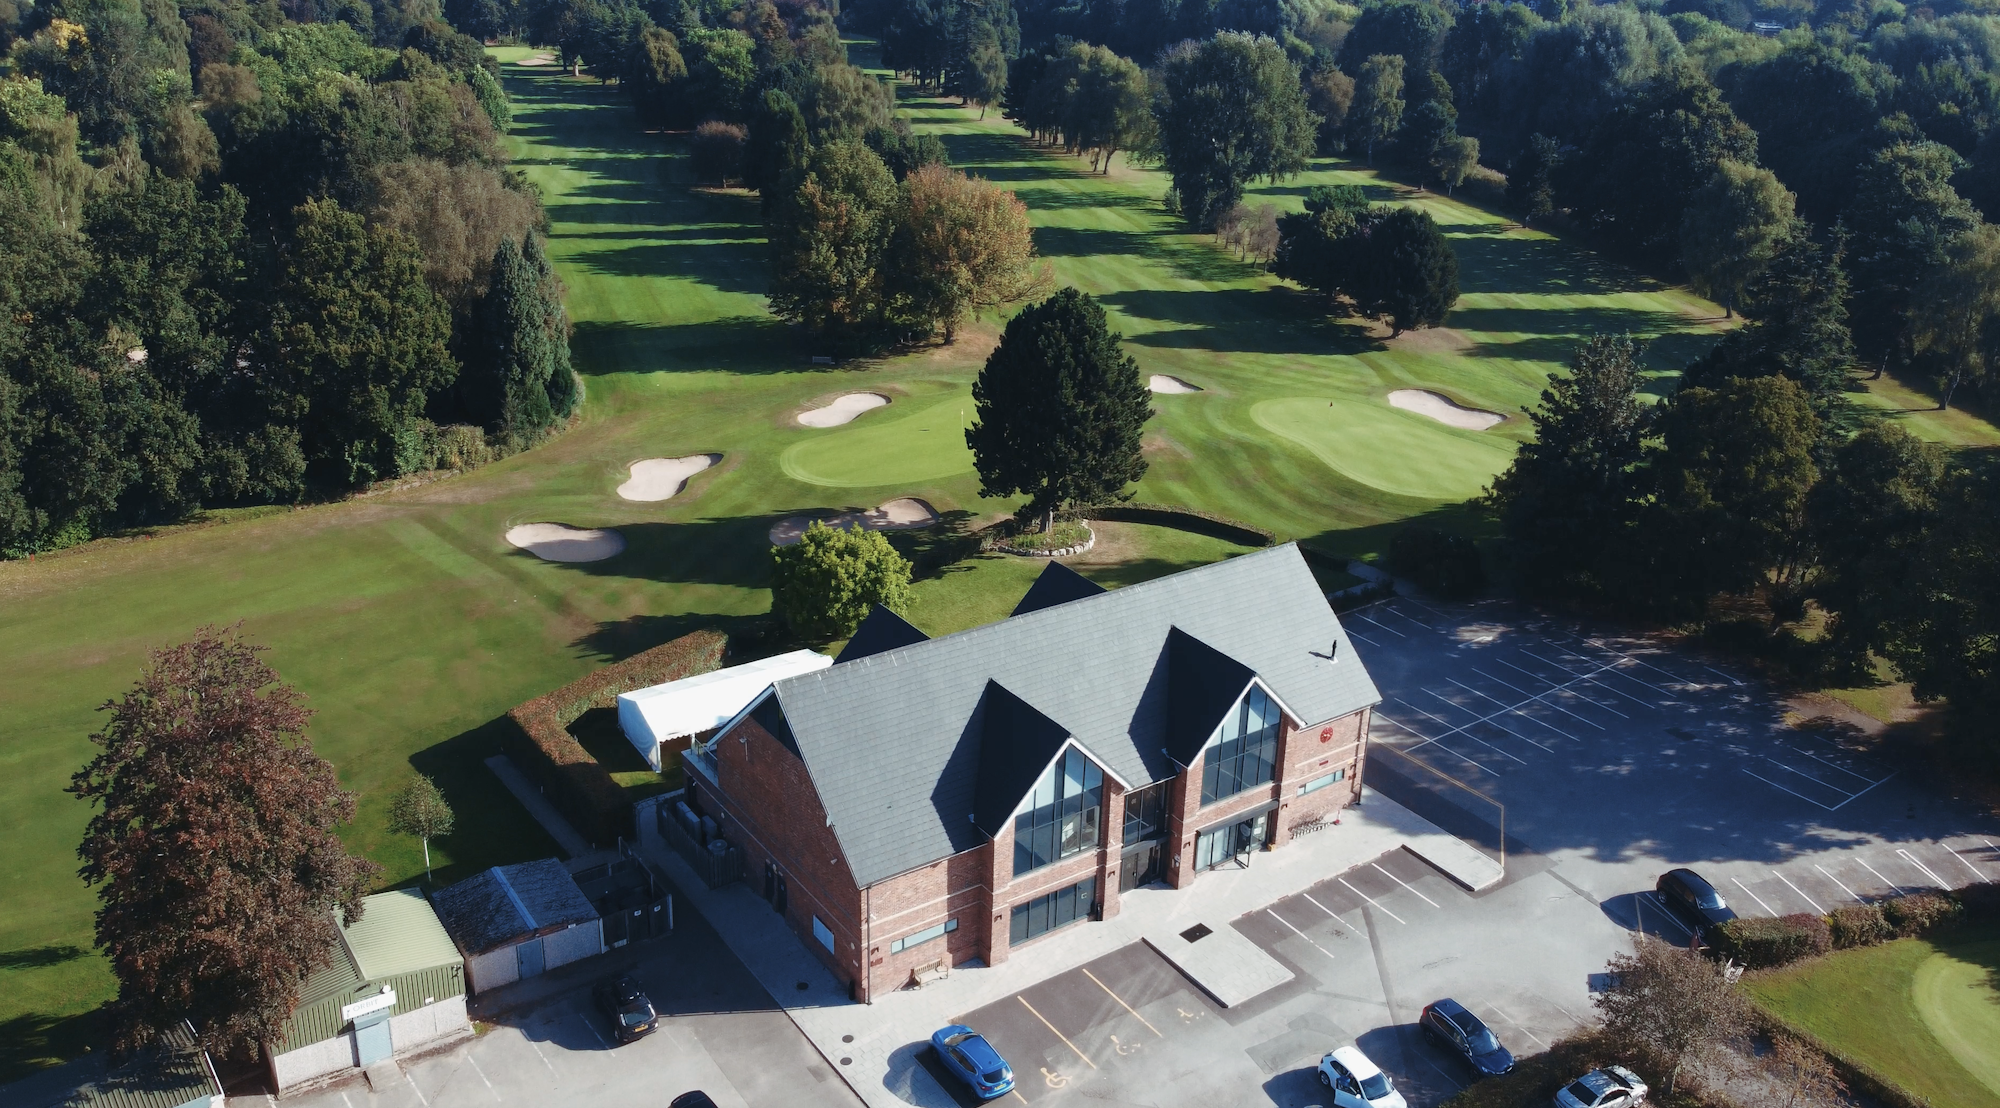
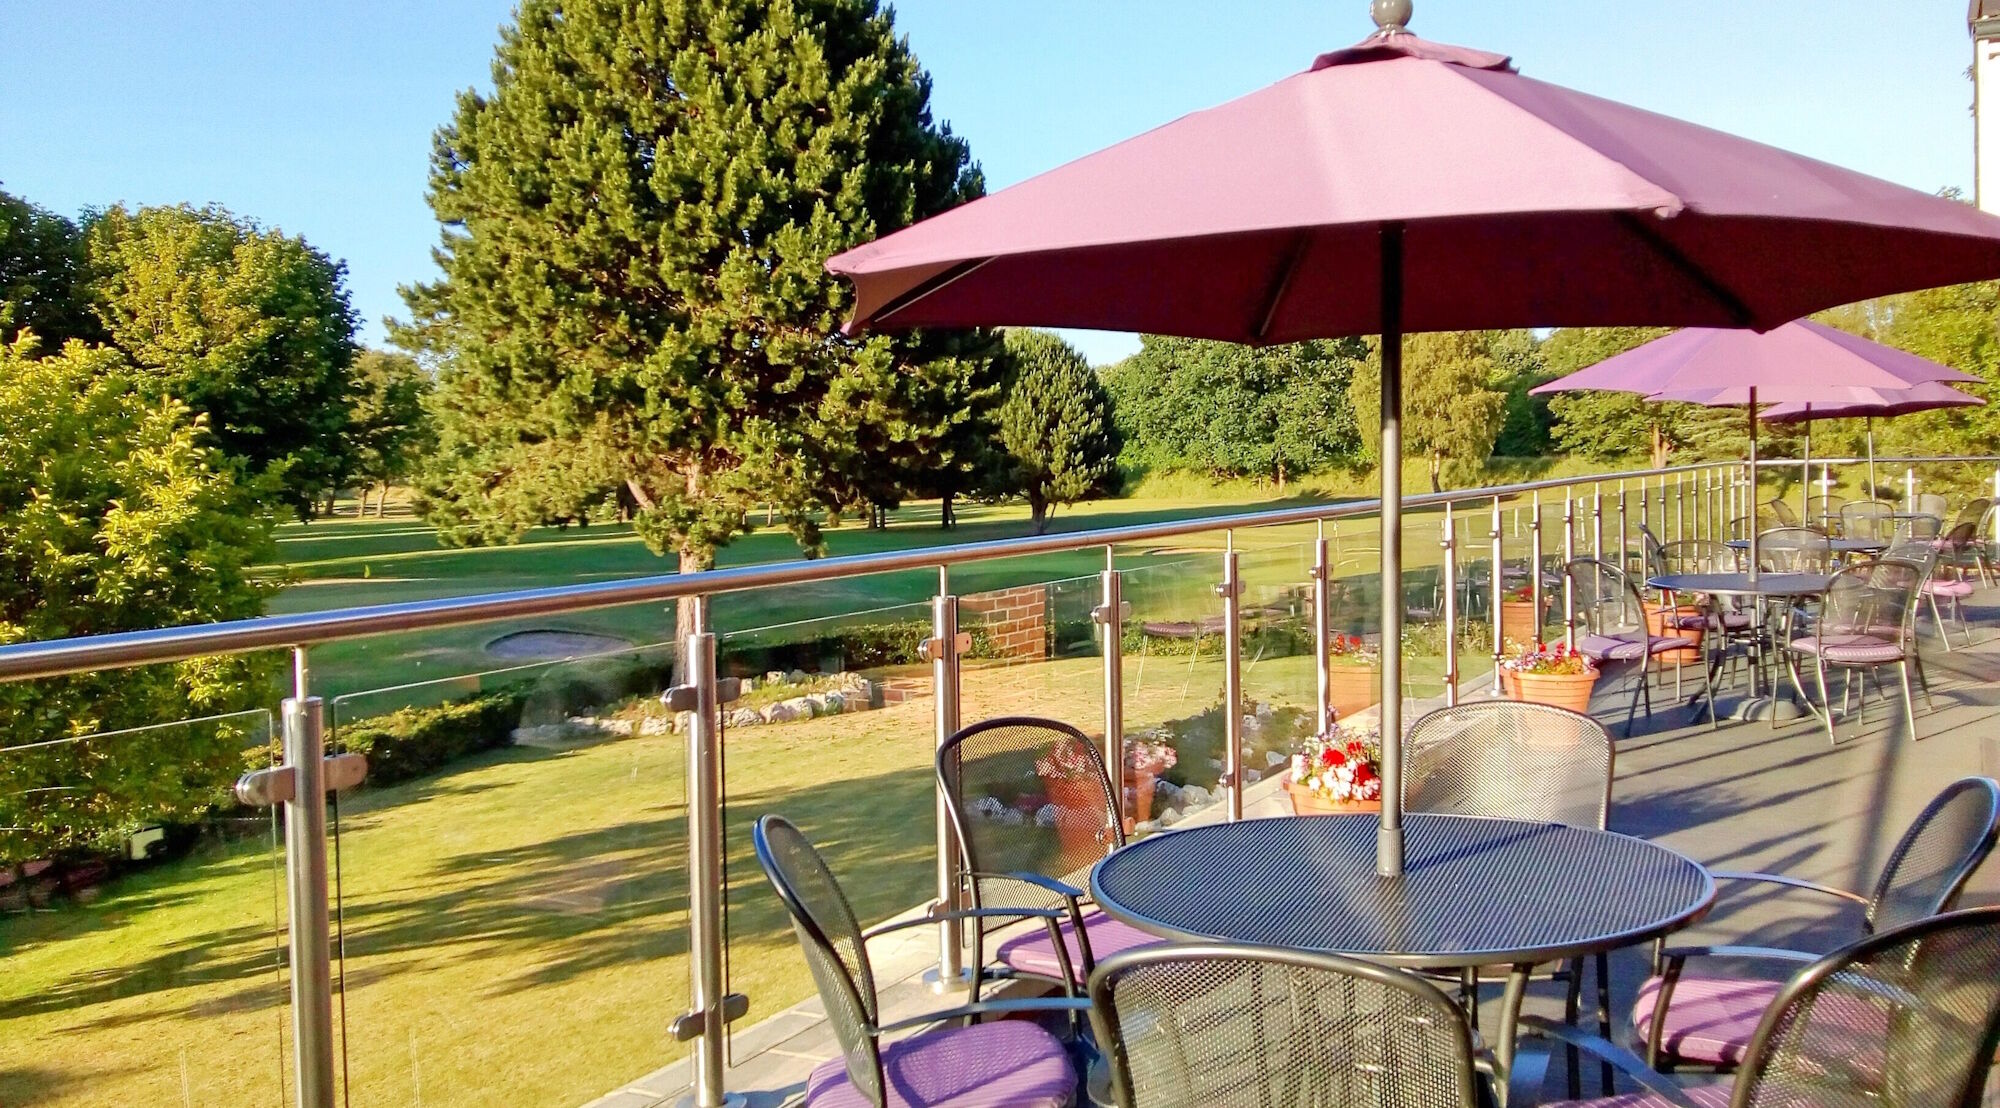
Northenden Golf Club![]()


GREEN FEES - OPENS - SOCIETIES - COURSE - RULES
Course Flyovers
Hole 1 - 427 YDS PAR 4 SI 3
Pro's Tip: Don't be afraid to lay up to the bunkers if you are not certain you can carry your approach to the green. At stroke index 3 this is a tough starting hole from the yellow tee. From the white tee the River Mersey comes into focus and the view down the fairway is daunting. However, find the fairway and par is possible. A long second shot is required for most but a large green awaits the accurate hitter. Beware the bunkers guarding the green, they can be deceptive and give the impression that your approach is shorter than it is. The savvy player will consider laying up in front of the bunkers if not certain of reaching the green. Par here may feel like a birdie!
HOLE 2 - 496 YDS PAR 5 SI 15
Pro's Tip: Aim to drive down the left hand side to give yourself the best angle into the green. The second hole is a manageable par 5 with a gentle dogleg to the right. A good drive down the left hand side, avoiding the fairway bunkers, gives the longer hitter a chance to go for the green in two. For the shorter hitters, fairway position on the tee shot is not quite so important as your second shot will be to the dog leg. Ensure good carry to leave a routine approach to the green.
Hole 3 - 383 YDS PAR 4 SI 7
Pro's Tip: Good position from your drive is the key to ensuring a good angle to attack the green. This slight dogleg left with fairway bunkers left and right again requires an accurate drive. A long well-guarded green awaits - beware the bunker back left that will be hidden from view and invisible to those not in the know. Several breaks on this green make putting tricky and there can be some devilish pin positions to contend with.
Hole 4 - 138 YDS PAR 3 SI 17
Pro's Tip: This one is simple - hit the green and be happy with par. The fourth is a short and pretty hole but one of the most deceptive on the course. The green is surrounded by bunkers so accuracy is required but any accuracy can be foiled by the swirling wind. On a windy day it is not unusual to stand on the tee with wind blowing left to right whilst looking at a flag blowing right to left. In spite of being indexed as the second easiest hole it is a potential card wrecker and most players are happy to walk away from this one with par.
Hole 5 - 331 YDS PAR 4 SI 5
Pro's Tip: You need to see the green for your second shot as pin position must be taken into account. This short hole has a sharp dog leg to the right and throws up all manner of options. Big hitters will go at the green, or even draw the ball in from the right over the Mersey, aiming to leave a short chip to the pin. Most people will be aiming at the 150 yard marker in the centre of the fairway. Give yourself room to attack the pin by driving to the left side of the fairway, taking the trees out of play. But beware the long greenside bunker along the left bank. The long sloping green will throw up a testy nerve jangler if you stray too far from the pin.
Hole 6 - 570 YDS PAR 5 SI 1
Pro's Tip: This is a tough drive off the whites so commit to the shot and aim down the left. The sixth is the longest hole on the course and demands three good shots to reach the green. A good committed drive is crucial in setting up what follows. A ditch down the left lies in wait for the over-cautious while the Mersey down the right will gladly welcome the wayward. The tree lined fairway presents a route which zig-zags down to the green. Keep to the left to avoid the large tree on the right, and then keep right to avoid the large tree on the left. The large green should be easy to find but long putts can be daunting due to the slope.
Hole 7 - 381 YDS PAR 4 SI 9
Pro's Tip: Your drive is the most important shot here. Good length is required but keeping it right is key. The reward for reaching the 7th green in regulation is a putt that is probably the most straightforward on the course. The breaks are subtle so don't be fooled but chances are available to score well here. Again your drive is important. Keep it down the right to open the green. Leak it too far left and you will find your path to the green blocked by a large over-hanging tree.
Hole 8 - 152 YDS PAR 3 SI 13
Pro's Tip: Ignore the trees, ignore the bunkers and go for the heart of the green where a birdie awaits the accurate hitter. The two-tiered green provides plenty of variety in the putt you could face. Get out of position and you could easily be looking at a three putt. The tee shot feels a little claustrophobic with the trees closing in on both sides. Put this from your mind and aim for the centre of the dance floor. The two greenside bunkers left and right were remodelled in 2013 and should be avoided, especially if the flag is towards the front of the green.
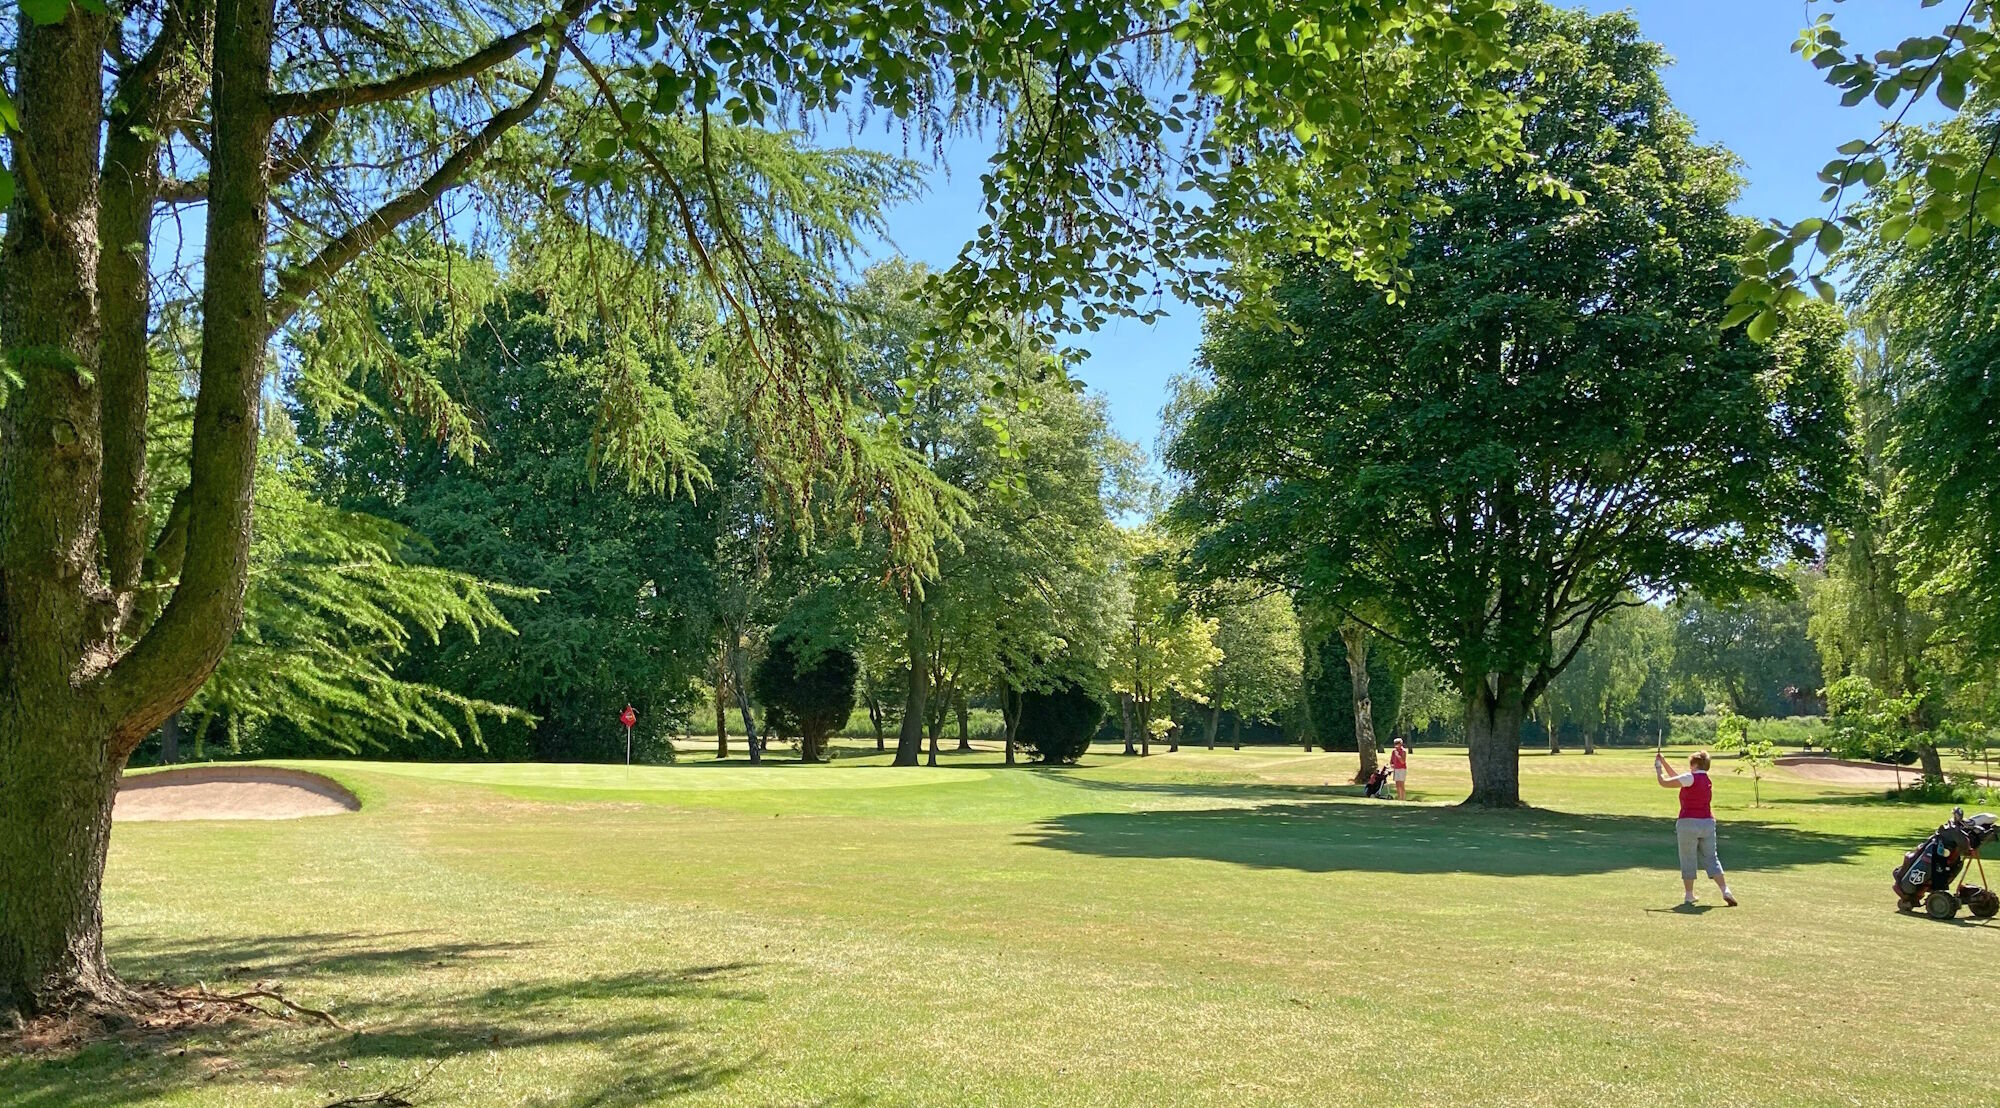
Hole 9 - 338 YDS PAR 4 SI 13
Pro's Tip: Aim your approach at the pin to leave an easier putt. You don't want to be on the wrong level to the flag. With the Halfway House in sight you reach the turn with another genuine scoring chance. A welcoming fairway has few challenges but beware the bunker down the right. And, of course, avoid the trees. The green is a large one that can be hit from most fairway positions but is built over two levels so you must be aiming at a target area. Many players reach this green in regulation without considering the pin position and then proceed to blow their score with too many putts.
Hole 10 - 342 YDS PAR 4 SI 10
Pro's Tip: Aim your drive down the left side of the fairway to give yourself another good scoring opportunity. The tee shot at the 10th is more difficult than it first appears. A narrowing fairway demands accuracy and your aim should be left of centre. This enables you to see all of the green and hit an approach at the flag. Teeing too far to the right brings all kinds of trouble with the trees and large protective greenside bunkers. The green itself is another large one that invites a scoring chance if you put the ball close.
HOLE 11 - 316 YDS PAR 4 SI 12
Pro's Tip: Lock onto the pylon in the distance and use this as a marker for your drive. Centre of the fairway is good. Almost every player stands on this tee with one thought in their mind - don't go right, for that way trouble lies. However, driving too far left can throw just as many problems. The long, narrow green is something of a landing strip and if you come in from too far left your margin for error is minimal. The green is an apex that slopes from the middle to both front and back. A ball coming in shallow can easily run off the putting surface. Bunkers along each side dictate that you really want to be approaching from the front and not coming across.
Hole 12 - 195 YDS PAR 3 SI 6
Pro's Tip: You will be taking a long club, even a wood, so aim to bounce and roll your tee shot onto the green. The longest par three on the course is one that requires distance allied with accuracy. Taking a wood or rescue club and landing just short could see you roll nicely onto the green. But a soft apron and front slope could just as easily see you back on the fairway. The brave will take dead aim here and go for the heart of the green. In windy conditions many will take driver. The awaiting green is one of the less severe on the course so the risk reward factor is high. High handicappers should love this hole if they receive two shots.
Hole 13 - 484 YDS PAR 5 SI 2
Pro's Tip: A straightforward hole with no magic secret. Keep it straight and guard against over-hitting your approach. The main feature of the second hardest hole is the undulating fairway that brings the luck element into play a little. A good drive and a good lie can set the hole up for a scoring opportunity but it is all uphill and requires three good shots to an elevated green. Off the white tees the drainage ditch comes into play for the short hitters, especially when the wind is up. The right hand tree line is out of bounds and the green is tucked into the corner with no room beyond. This sees many a player (wary of over-hitting) under-clubbing and coming up short.
Hole 14 - 321 YDS PAR 4 SI 18
Pro's Tip: Attack attack attack. Go for accuracy off the tee and then attack the flag for birdie. This short par four is one of the best scoring holes on the course. Driveable for some players due to a fairway that slopes towards the green but a hole on which most will club down off the tee to ensure accuracy. The green then slopes from back to front meaning you can go right at the flag with whichever club you use for your approach. It isn't a gimme and accuracy is still definitely the key here but a good approach below the hole offers a real birdie opportunity.
Hole 15 - 161 YDS PAR 3 SI 8
Pro's Tip: This is more of a mental hole that looks worse than it actually is. Block out the trees & water and commit to the tee shot. This testy hole is the last of the par threes and is one of the best holes on the course. A picturesque view belies the trouble that lurks everywhere. The green is large and inviting but trees encroach and the lateral water hazard down the right and across the fairway can act like a magnet. Well placed bunkers protect the putting surface and once again hitting the green is only half the battle. A monster putt (or three) can be the result of over or under clubbing.
Hole 16 - 496 YDS PAR 5 SI 16
Pro's Tip: Keep your fairway shots down the right half of the fairway to take the dogleg out of play. This par 5 has a slight dogleg left half way up the fairway so keeping the ball right centre of the fairway is the smart play. Weeping willows lie in wait if you get too close to the trees. Two good shots should leave a makeable approach to a green that is long but narrow. The back to front slope means you can go at the flag again and give yourself a scoring chance. Once more, any miscalculation on club length can leave a long, dribbly putt that you will be happy to make in two.
Hole 17 - 354 YDS PAR 4 SI 4
Pro's Tip: You may well need two putts on this green so two solid approach shots are a must. The fairway widens as you go so there is plenty to aim for. The length makes this a low stroke index but it is relatively trouble free so provides an opportunity. Keep away from the trees down the right and don't ping into the green keeper's compound on the left!There are cunningly placed fairway and greenside bunkers waiting for any errant shot so disaster is never far away. The large green looks reasonably straightforward but has some deadly borrows so be warned.
Hole 18. - 315 YDS PAR 4 SI 14
Pro's Tip: Go for accuracy over distance off the tee to set up your approach. The easiest hole on the course, though not according to the stats. Many a promising round has gone up in smoke here. The tee shot is intimidating with a narrow corridor that requires accuracy. The right side fairway bunker is one that many players are on first name terms with. Out of bounds down the right hand side goes all the way up past the green, protecting the practise range and chipping green at the rear of the clubhouse. The long sloping green does not hold too many challenges but it is well protected by bunkers and is surprisingly easy to miss. On top of all this you could find yourself playing to a small audience on the clubhouse balcony for that touch of added pressure. Just relax and remind yourself that the next hole is the 19th..!
First Class Golfing Experience.


Created by intelligentgolf version 10.1.2.